¶ Depot Setup
A depot is the Perforce equivalent of a git repository. To request a Perforce depot for your project, visit https://perforce.wpi.edu/. You must be connected to the WPI network via on-campus wifi, or Global Protect.
¶ Basic Usage
¶ Prerequisites
You must have the Perforce Helix Command-Line Client (p4) or Helix Visual Client (p4v) installed in order to use your depot. If you are new to Perforce, using p4v is the recommended option. The steps below assume you are using p4v
¶ Connecting to the WPI Perforce Server
When you first open p4v, you will be greeted by the following screen. Enter the server URL (make sure to include the .wpi.edu in the server field), and your WPI username (WITHOUT the @wpi.edu). Leave the “Workspace” field blank:

When you press OK, you will be prompted for your WPI password (the same one you use to log into lab computers)
¶ Perforce UI Overview
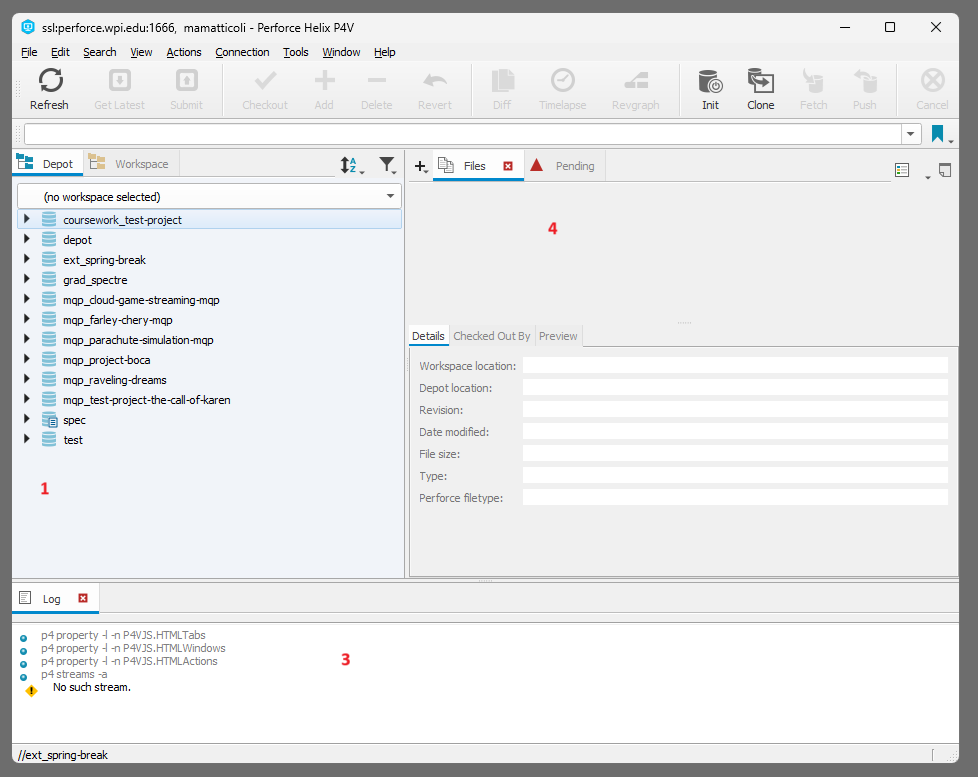
- Depots View - Here you can see a list of all the depots you have access to and their corresponding file trees
- Pending Changes - Offline changes that have not yet been submitted
- Log View - This will show you what commands p4v is running and their output. Useful for troubleshooting errors/failures
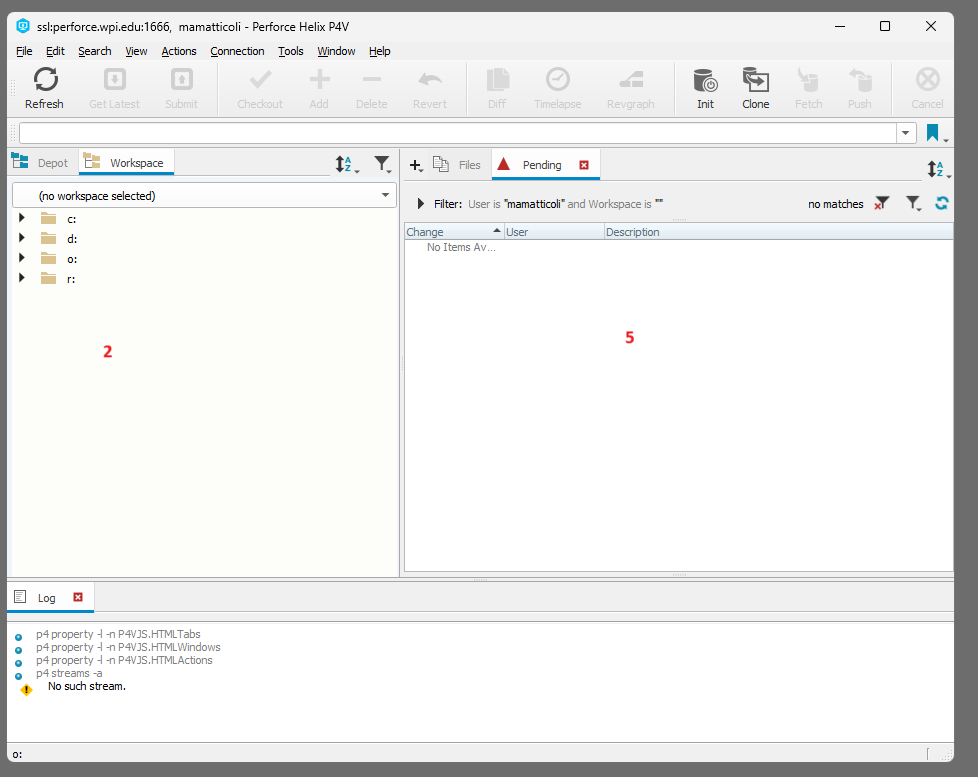
- Workspace Tree - The file tree for your current workspace, and a drop-down to select your active workspace or create/edit one
- Files View - File changes that have not yet been submitted
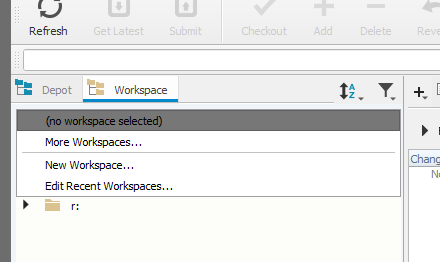
¶ Creating a Workspace
In order to work with your depot locally, you'll need to create a workspace. This is roughly equivalent to cloning a git repository.
In the workspace tree, click the dropdown reading “no workspace selected” and select “New Workspace…”. Unlike with a cloned git repo, the configuration of your workspace is stored on the perforce server.
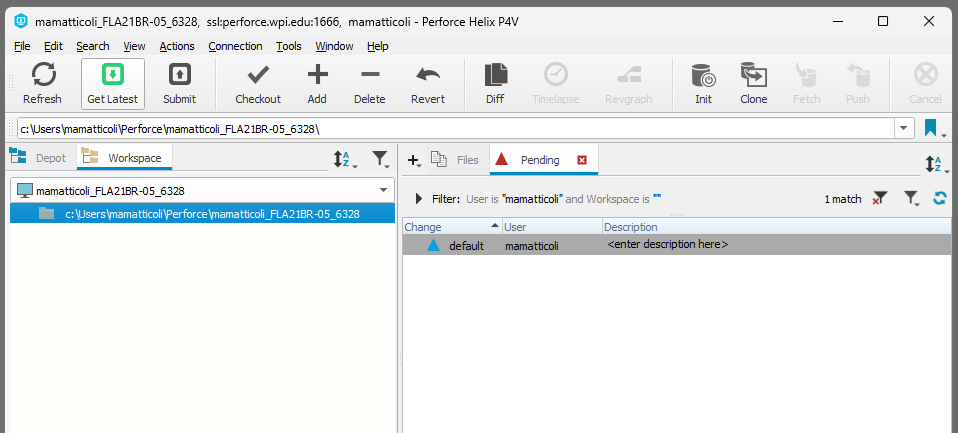
You'll need to fill out the 3 following fields:
- Workspace name: the naming convention is
username_COMPUTERNAME_####where #### is a randomly generated number. You typically won't need to edit this unless you want to replace COMPUTERNAME with an easier identifier for the computer you're working off of. - Workspace root: the folder where you want your depot files to be stored locally. You should pick an empty folder, if you have an existing unreal project you can copy it in later
- Workspace Mappings: if you have access to multiple depots, you will need to include and exclude them by selecting each one and pressing the include or exclude buttons above (the hamburger buttons with a checkmark and X, respectively)

You can double click a view map to edit it:

In this case, the depot path //depot is mapped to the depot folder in our workspace folder //usernameCOMPUTERNAME5777 - this means we'll need to add files into the depot folder, and NOT directly in the Workspace root folder.
Ensure the “Switch to new workspace immediately” box is checked and click “OK”.
¶ Pulling Latest Changes
If there are existing files in your depot, you can select your workspace in the workspace tree and sync them to your computer by pressing the “Get Latest” button. You should always do this regularly, and every time you begin working to ensure you have the latest copy of all files and don't introduce conflicts. The new files should appear in your workspace tree.
¶ Adding Project Files to New Depot
Note: The view map in the example above may differ on a server with multiple depots. If your workspace path has the name of your depot at the end, you'll need to add a folder in your workspace root folder that matches the name of your depot exactly. E.g, if my depot is named
mqp_exampleand my workspace path reads//username_COMPUTERNAME_5777/mqp_example, my project files will be stored inC:\…\username_COMPUTERNAME_5777/mqp_example/Notably, the
mqpexamplefolder will not be created automatically for an empty depot. You would get a “files outside view” error when trying to mark files for add in your workspace root folder outside of themqp_examplefolder.
You can quickly access your workspace folder using the “Show in Explorer” option when right clicking the folder path in the workspace tree:
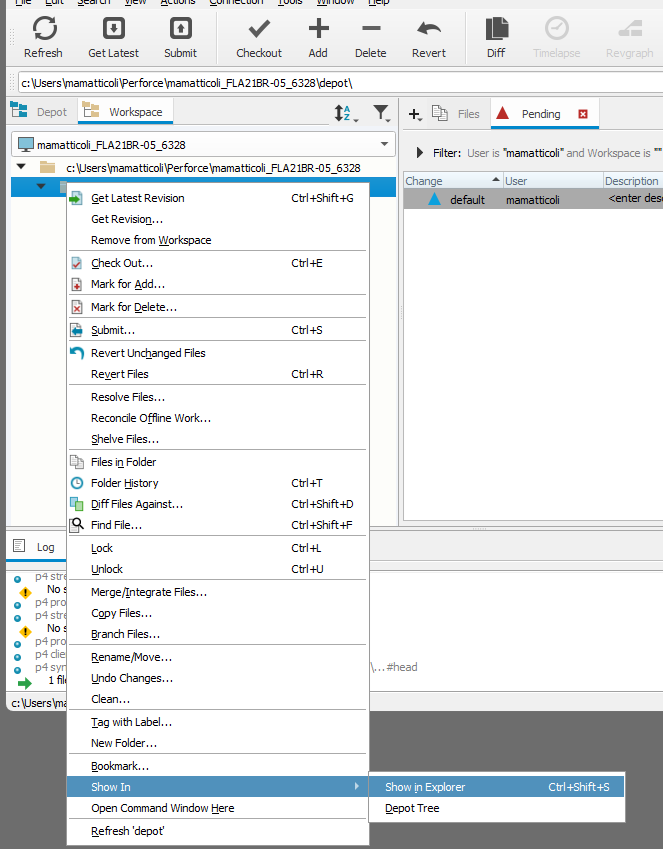
To add files, simply copy/paste them into the folder and return to Perforce. As an example, we've copy/pasted an Unreal 5 project folder into an empty depot. We'll need to right click the folder and select “Mark for Add…" so that it can be added to the depot:
If you don't immediately see the changes in your workspace tree, click “refresh” on the top left

If using Perforce with Unreal or Unity, a .p4ignore file (click for example) must be included in your project root folder to ensure that files such as built code and lighting are not accidentally added to your depot. Not doing so will take up a lot of unneeded storage quota and cause problems for other members of your team when trying to get the latest revisions.
See the full p4ignore docs for more info: https://www.perforce.com/manuals/cmdref/Content/CmdRef/P4IGNORE.html
You'll receive a popup allowing to select a changelist. If you're not sure what this is, just click OK with the default changelist selected.

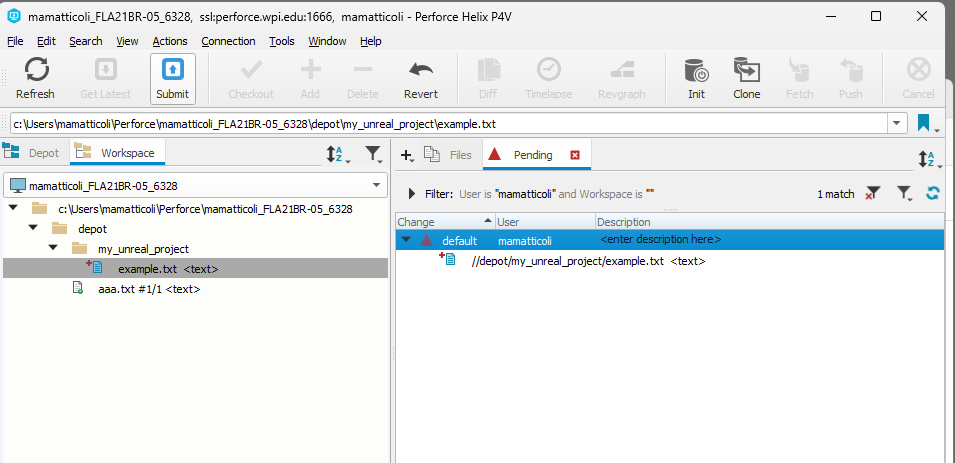
The files you've marked for add should now show a “+" indicator in the files tab (you may need to expand closed folders to double-check this).
In the “Pending” tab, you should now see your default changelist ready to be submitted. You can “push” your files up to the server by selecting the changelist in the Pending tab pressing the “Submit” button. Make sure to enter a helpful changelist description so others know what changes were included.
¶ Editing Existing Files
To edit existing files, simply edit them as you normally would. All new files must be marked for add, or they will not be included in the current changelist when submitted.
Unlike with git where you typically create branches and merge sets of changes together, Perforce operates using a bookshelf model. That is, you can think of all the files in your depot as books - to change one, you need to remove it from the shelf (check it out), and then return it (check it in). This workflow is shown in practice in the Unreal Engine Integration section below.
¶ Using with Unity
Unity does not have built-in support for Perforce. If you're using Unity, it's highly recommended that you use a git provider such as GitHub or GitLab, or PlasticSCM (aka Unity DevOps Version Control)
¶ Unreal Engine Integration
If you are working on an Unreal Engine project in your Perforce depot, you can perform basic actions such as checking out, marking for add, and submitting changes from within Unreal. You must have p4v open and logged in first with an active workspace in order to do this.
If you have an existing project outside of your workspace, see Adding Files to Depot
With your Unreal project open, click Tools > Connect to Source Control

Enter the server and username accordingly, and select your workspace from the “Available Workspaces” dropdown:

Right click your Content folder and select “Sync” to get the latest changes from the server

To lock a file you are working on to prevent changes by other users, you can right click it and select Source Control > Check Out . Unreal should automatically detect when other users have files checked out and prevent you from making conflicting changes. To be safe, you can right click the asset and “Refresh” before editing to double check. When you have a file checked out, you'll see a red checkmark in the corner of its icon in the content browser.


If you forget to check out files and start making edits, you can check out all modified files using the source control menu

Make sure to check files back in when you're done working using Source Control > Check In when right clicking a particular asset, or the Submit Content option on the global source control menu to submit multiple files. Similar to in p4v, you'll be prompted to enter a changelist description before submitting.

Note: If you have files checked out and forget to check them back in, other devs will not be able to edit those same files.